Dry Ice Deburring and Deflashing for Plastic Components
Published
Learn how dry ice deburring and deflashing is used for plastic components, including PEEK. Compare part finishing with production-tooling cleaning.
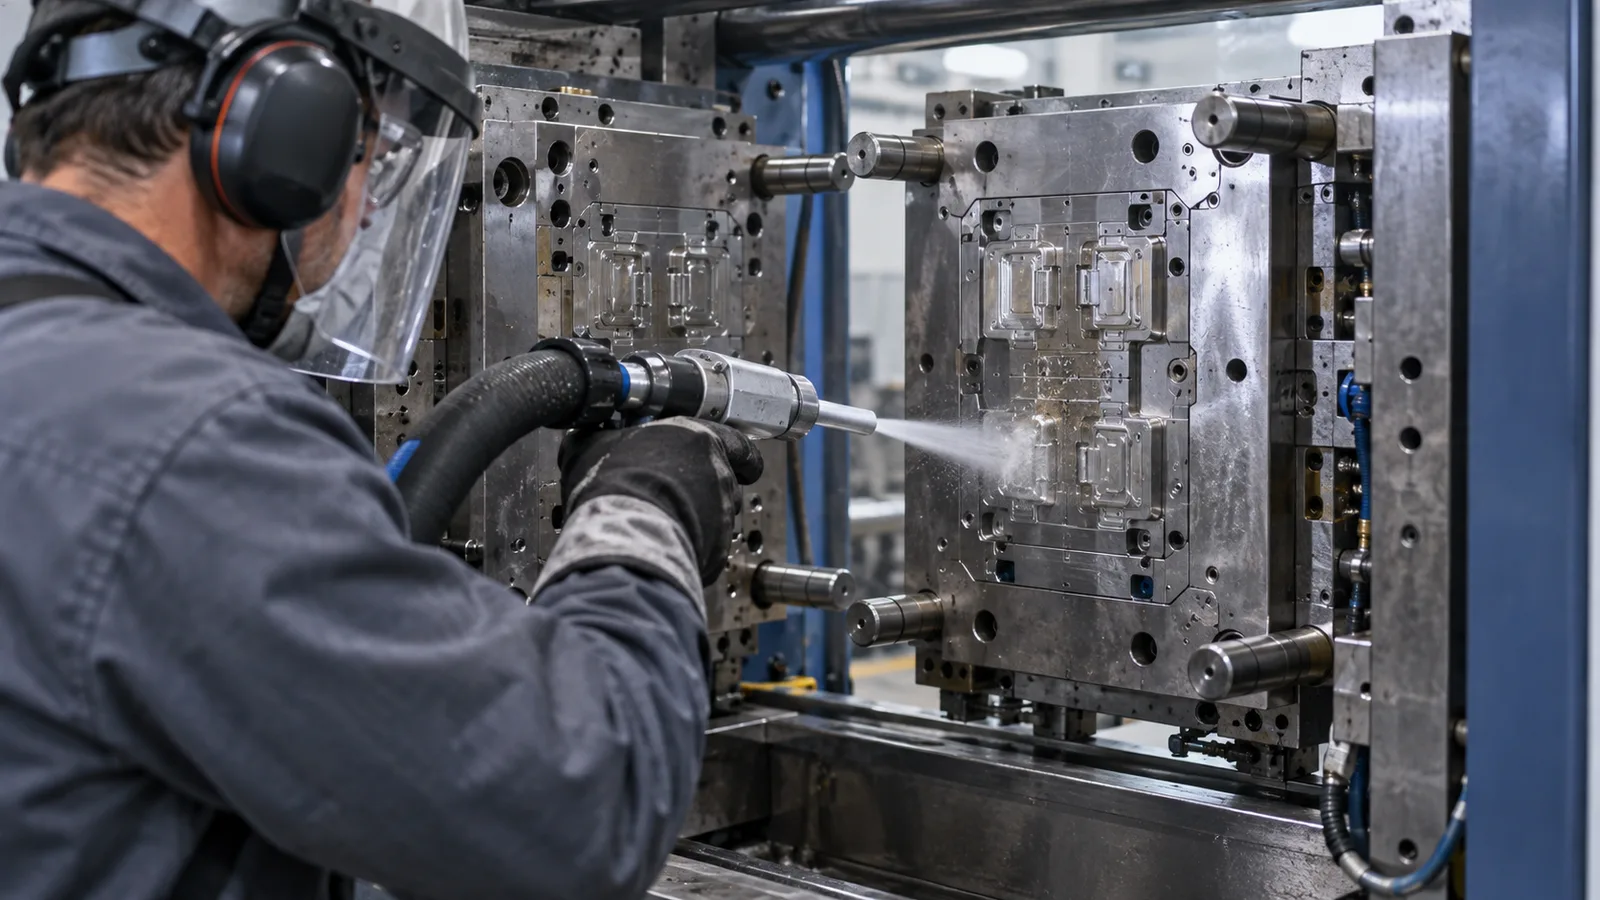
Dry ice deburring and deflashing is a parts-finishing application. It targets excess material on a component, such as machining burrs or flash at a molding parting line. This differs from cleaning production deposits off the mold used to make the part.
The distinction matters when preparing a manufacturing project. Precision Dry Ice Cleaning’s medical-device production cleaning service addresses equipment, molds, fixtures and tooling. A component-finishing project needs its own part specification and process requirements.
Deburring and deflashing address different features
A burr is excess material left by a machining or cutting operation. Flash is excess material associated with a molding boundary or parting line. Identify the feature to remove and the geometry that must remain before selecting a finishing process.
Photograph the feature with a scale and mark its location on the drawing. State the permitted final edge condition, surface finish and dimensions. The material name alone is not a complete finishing specification.
Where dry ice finishing is documented
Cold Jet publishes dry ice deburring and deflashing applications for plastic components and medical manufacturing. Its examples include PEEK and several other polymers. The manufacturer’s medical-equipment application page separates mold cleaning from parts finishing.
These application examples establish a useful topic for manufacturing teams. They do not define a universal recipe for every polymer, burr thickness, flash condition or finished component.
Control the part and the finishing area
Prepare a fixture that holds the part and presents the target feature to the cleaning stream. Define nozzle access, protected areas and the position of the component. Repeat work needs a consistent arrangement and a recorded process.
Include the handling steps before and after finishing. Small parts also need a way to keep removed material separated from finished components. Record which areas are processed and which surfaces remain outside the finishing scope.
Inspect the component against its specification
Check the target feature after processing, using the inspection method required by the drawing or quality plan. Inspect retained edges, dimensions and surface finish as well as the excess material being removed. A clean-looking part is not a substitute for these measurements.
For regulated medical components, the manufacturer controls process validation, product release and any subsequent cleaning or sterilization. Deposit removal or part finishing does not establish biocompatibility or sterility.
Keep tooling cleaning and parts finishing separate in the work order
For mold residue, use plastic injection mold cleaning and the vent and cavity guide. For fine tooling surfaces, read polished injection mold cleaning. Those projects target the production tool rather than flash on the manufactured component.
Information to include in a component-finishing inquiry
Provide the drawing, material grade, feature dimensions, photographs, batch size and acceptance criteria. Include handling restrictions, fixture requirements and downstream quality steps. Define the required process scope before treating component finishing as a production service.
For production equipment and tooling cleaning, send your equipment photos and maintenance window to Precision Dry Ice Cleaning. Controlled manufacturing areas also have contamination-control requirements for equipment cleaning.