Injection Mold Vent and Cavity Cleaning
Published · Updated
Evaluate injection mold vent cleaning with a deposit map, surface checks, method comparison and test record before extending work across the tool.
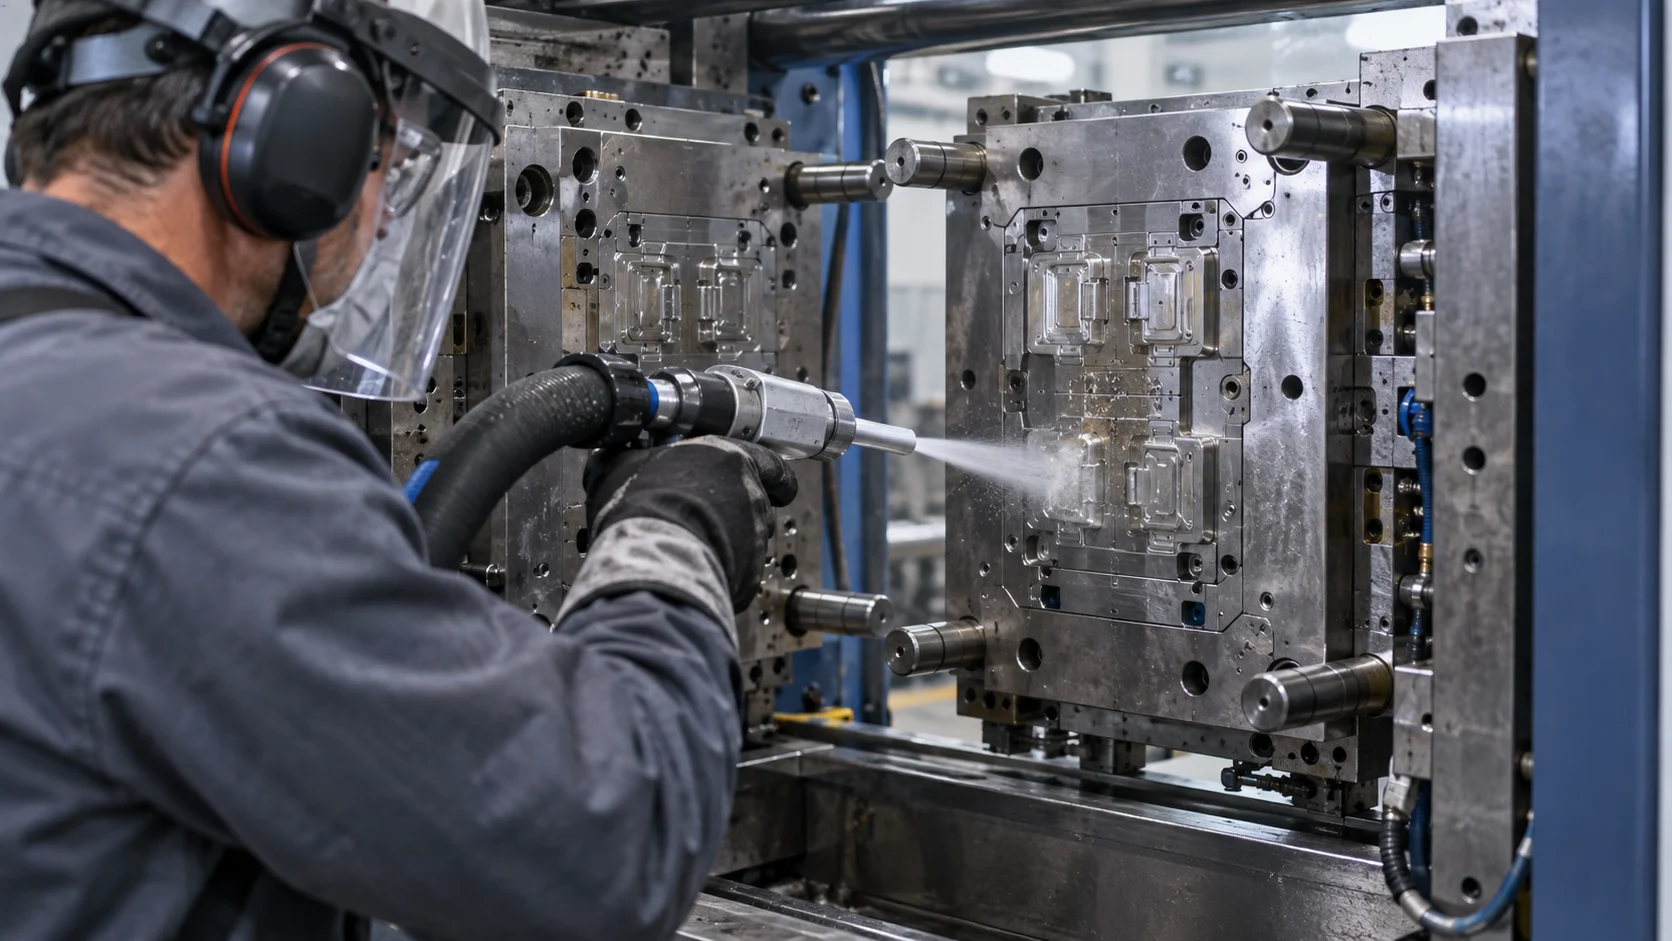
Injection mold vent cleaning needs a clear distinction between removable buildup and a tooling problem. Start with the affected features, the residue and the finish that must remain. Then agree on how the tool will be inspected after cleaning.
This guide offers a suggested evaluation framework for maintenance and tooling teams. For on-site service and a project quote, see injection mold cleaning with dry ice blasting. Use your toolmaker’s instructions to set the limits for the actual mold. For the surrounding press and supporting equipment, extend the tooling list with the mold and press maintenance guide.
Locate the deposit before selecting a cleaning method
Cold Jet identifies cavities and vents as dry ice cleaning applications for resin deposits and mold release agents in its plastic and rubber mold cleaning guidance. That application reference provides background. It does not establish the condition of your mold or explain every production defect.
Ask the process engineer to identify the concern separately from the proposed cleaning task. Record whether the concern involves a specific cavity, vent, parting line or repeated location on a part. Attach existing inspection findings without treating a photograph as a diagnosis.
Mark the same points on an overall tool photograph and a close view. Include the resin, release product, previous cleaning method and recent process changes. If the material is unknown, record that uncertainty instead of selecting a removal method from its appearance.
Build an injection mold vent cleaning map
| Feature | Information to record | Decision before work |
|---|---|---|
| Cavity and texture | Finish, coating, residue and reference photos | Which surface condition must be retained? |
| Vent and vent entrance | Location, observed buildup and toolmaker requirements | Who checks the feature after cleaning? |
| Parting line and shutoff | Existing wear, damage or previous repair | Which concerns need tooling review? |
| Inserts and nearby components | Materials, seals, wiring and access restrictions | What needs protection or exclusion? |
Choose inspection points that can be found again after the test. Avoid a general instruction such as clean all detail when some features cannot be seen or reached. Name any feature requiring removal or separate access by your maintenance team.
Compare methods against the actual feature
Ask the toolmaker which products, implements and handling are permitted for manual cleaning. When evaluating a dry ice trial, review the deposit, finish and access together. If off-tool cleaning is an option, include removal, transport, handling and reinstallation in the comparison.
Use the same target area and acceptance criteria when comparing proposals. Include preparation, residue collection and inspection. A comparison based only on minutes at the surface leaves those owner tasks outside the estimate.
Review industrial cleaning methods for the wider decision. Use the guide to cleaning without disassembly to separate in-press location from usable access.
Set a test boundary and a stopping point
Select an area with the finish and buildup present in the intended production scope. Include a relevant detail feature rather than choosing only a flat, easy surface. Agree on who observes the result and who can approve a scope change.
Record the starting condition, the test boundary and the inspection method. Afterward, document remaining residue and any observed surface change. Pause for tooling review if the result differs from the agreed criterion. Do not extend a successful test to unlike coatings or inaccessible features without another review.
Use the worksheet on the test cleaning page to organize those observations. Keep settings in the actual approved job record rather than copying a general pressure recommendation from an article.
Separate cleaning acceptance from production release
Ask the tool owner to define the required checks for vent condition, dimensions and surface finish. Assign finished-part validation to the appropriate production or quality team. Keep each acceptance decision attached to its own evidence.
For example, a visual review can record whether the named deposit remains at a marked point. It should not be rewritten as proof that a vent meets a dimensional specification or that the next production run meets quality requirements.
Off-gassing deposits and mold vent buildup
Off-gassing residue, resin deposits and release-agent film can collect on cavity faces and accessible vent areas. Cold Jet identifies vent fouling and mold deposits among the concerns for plastics manufacturers. Map the deposit location and note changes in the resin or release product.
Part-quality symptoms such as burns, splay and short shots belong in the process team’s investigation. Cleaning addresses the deposited material; the team also checks settings, vent condition and other tooling factors.
Connect the deposit map to plastic injection mold cleaning, in-press vs bench cleaning and the mold maintenance scheduling guide.
Use the findings for repeat maintenance
Keep the tool identifier, deposit history, inspection points and actual work record together. Use the maintenance cleaning log to compare later visits. Record changes in resin, release product, operating conditions or tool finish before repeating the scope.
Base the next review on those observations and your maintenance program. Avoid assigning an unsupported universal cleaning interval to every mold. Where a problem returns, ask the process and tooling teams to review its cause alongside the cleaning record.
Get an injection mold vent cleaning quote
Send the tool model, feature map, current photographs, project location and available maintenance window. Include the toolmaker’s restrictions and the person responsible for inspection. Use the Project Brief Builder, then request a cleaning quote. For related tooling, see rubber mold cleaning methods.